導航菜單
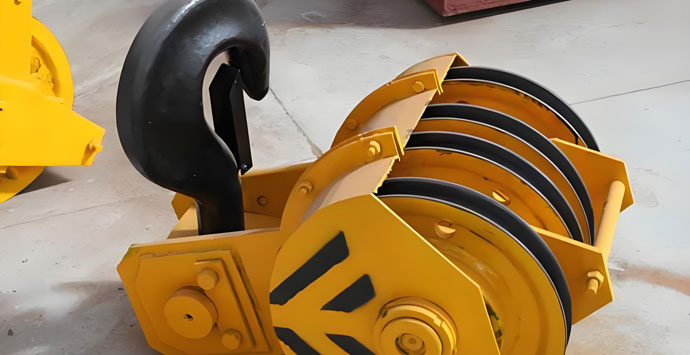
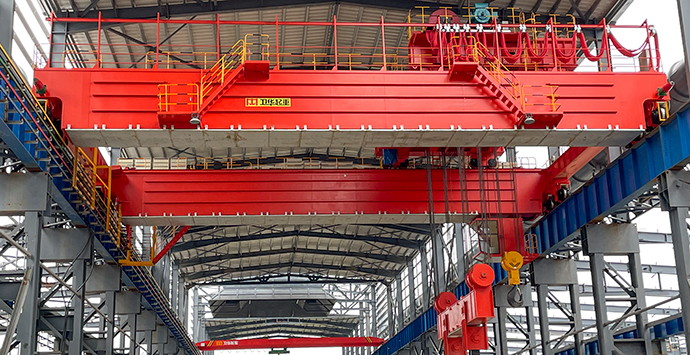
安裝起重機吊鉤不僅僅是用螺栓固定在零件上; 它集成了起重機及其負載之間的關鍵鏈接. 有缺陷的安裝可能會導致災難性故障. 讓我們分解一個經過驗證的專注於精度的框架, 安全驗證, 和長期可靠性.
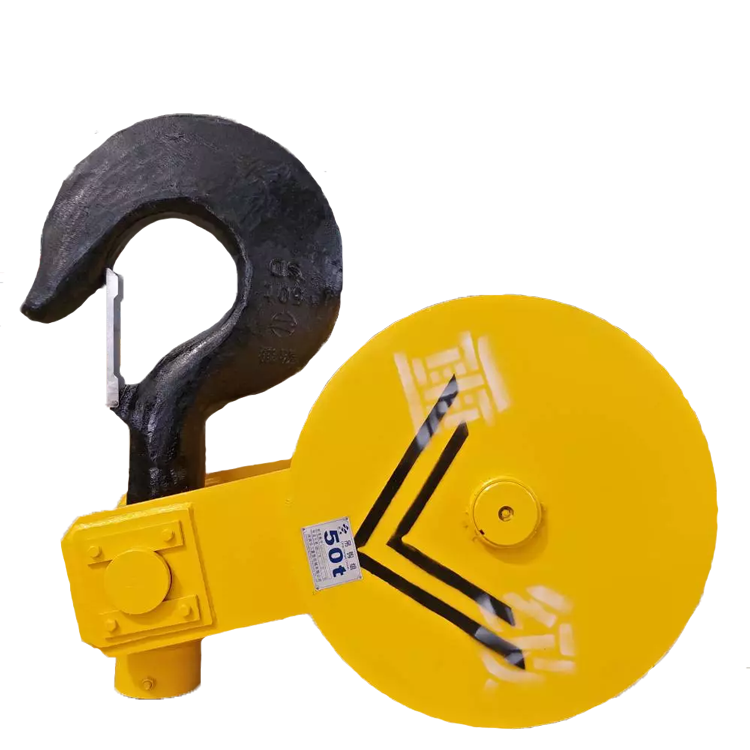
1. 深入了解您的規格:
2. 預安裝掛鉤 & 索具檢查 (“大憲章”步驟):
3. 收集合適的軍火庫 (沒有替代品!):
1. 確保工作區域安全:
2. 螺紋準備是關鍵:
3. 應用螺紋處理 (如果指定):
4. 電梯 & 初始參與度:
5. 最終擰緊——扭矩就是法則:
6. 固定安全裝置:
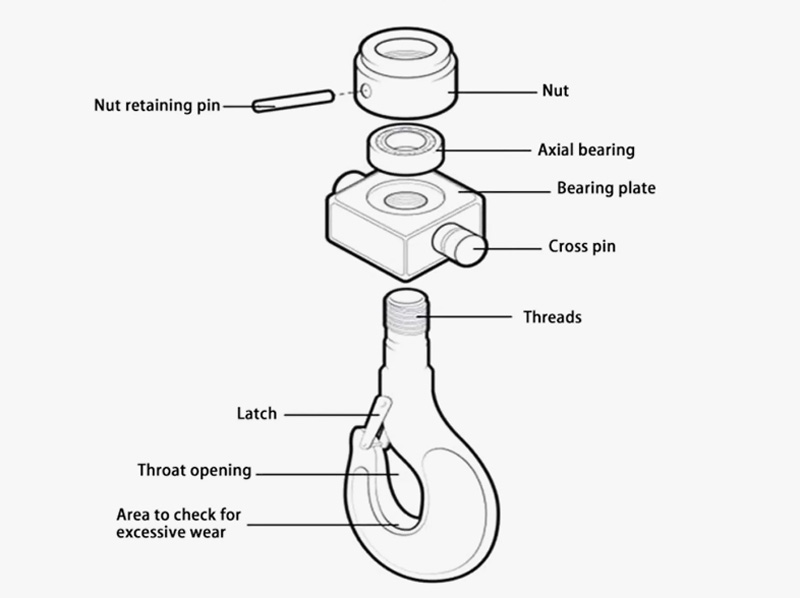
1. 目視複查: 檢查整個連接. 確保掛鉤正確就位, 安全裝置已正確接合, 並且沒有明顯的間隙或錯位.
2. 功能測試 (閂鎖): 如果配備了, 反複測試閂鎖機構,確保可靠運行.
3. 零負載測試:
4. 初始負載測試 (批判的!):
5. 文件: 記錄掛鉤安裝日期, 零件號, 序列號 (如果適用的話), 施加扭矩, 以及起重機日誌中的負載測試結果.
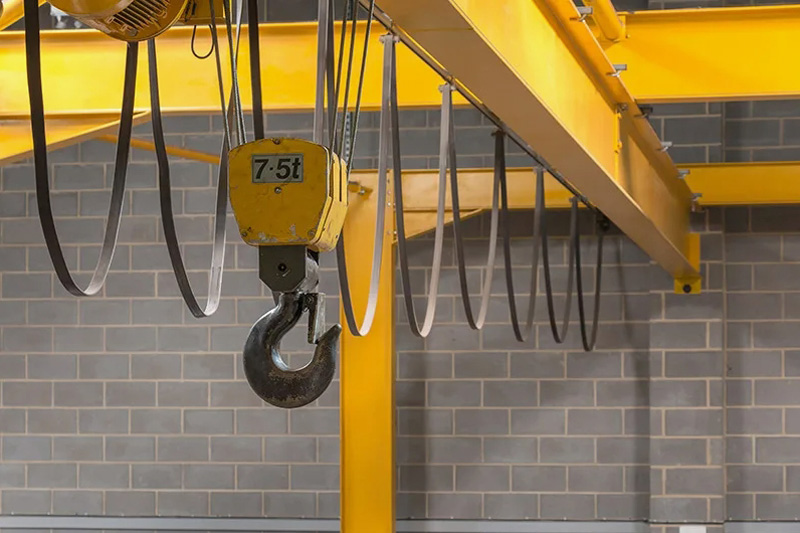
使用前檢查: 目視檢查吊鉤, 閂鎖, 和連接螺紋 每次 使用前. 尋找裂縫, 形變, 或有鬆動跡象.
避免側面加載: 設計載荷沿吊鉤中心線垂直作用. 側面負載會大大增加壓力,並可能彎曲或折斷鉤子.
立即舉報: 任何損壞, 異常磨損, 或對連接完整性的懷疑必須報告並停止服務.
安裝一個 起重機鉤 要求尊重工程, 細緻的程序, 和對安全堅定不移的承諾. 倉促或偷工減料都是拿生命和裝備來賭博. 通過遵循這個以精確為中心的框架——強調準備, 螺紋完整性, 校準扭矩, 和嚴格的驗證 - 將簡單的安裝轉變為安全可靠的起重機操作的基石. 永遠不要低估鍛鋼件在負載之上的關鍵作用. 正確安裝, 始終檢查它.
我們重視您的反饋! 請填寫下面的表格,以便我們可以根據您的特定需求來量身定制服務.


最新評論