Меню навігації
Гачок вашого накладного крана - це критичне підключення до навантаження. З часом, знос, деформація, тріщина, або пошкодження можуть порушити його цілісність, створює серйозний ризик для безпеки. Знати, як виконувати a заміна гака крана правильне та безпечне є першорядним для будь-якої команди технічного обслуговування. У цьому посібнику описано основні кроки, пріоритет безпеки понад усе.
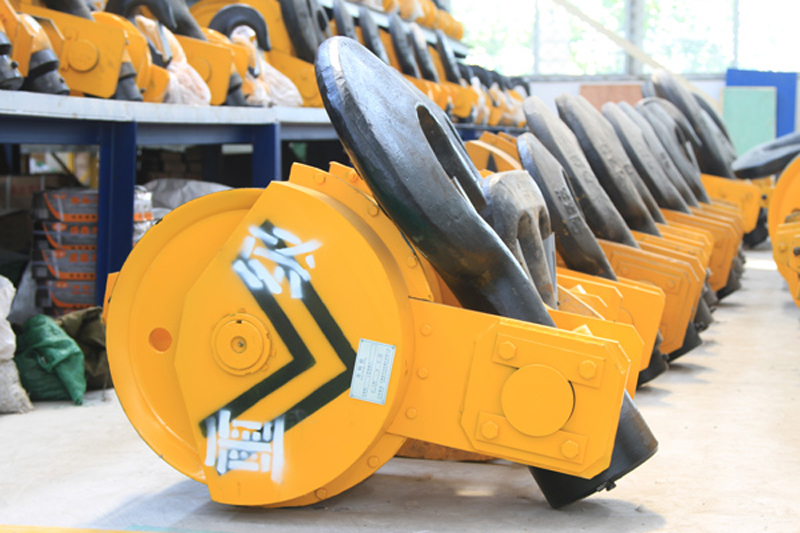
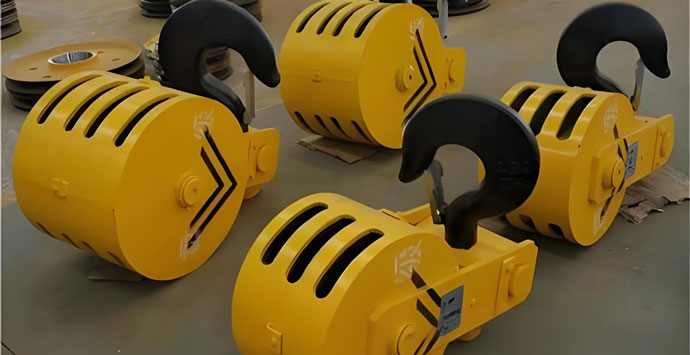
Відповідний запасний гачок (правильна ємність, типу, і отвір горла)
апарати ЛОТО
Тегування матеріалів
Сертифіковане підйомне обладнання (ланцюгова таль, важільний підйомник, козловий кран – розрахований на вагу вантажного блоку/гака)
Стропи або ланцюги (оцінено адекватно)
Правильні ключі/насадки (часто великий)
Шпильки, болти, горіхи, шплінти, або стопорні кільця (як зазначено виробником)
Динамометричний ключ (відкалібрований)
Дротова щітка, розчинник для очищення
Штангенциркуль або мікрометр (для огляду)
Захисні окуляри, рукавички, тверда шапка, чоботи зі сталевими ногами
Захист від падіння при роботі на висоті
Підготовка є найважливішою:
Очистити територію: Переконайтеся, що шлях крана та робоча зона під ним повністю вільні від людей та перешкод.
Закріпіть кран: Перемістіть кран у визначену зону обслуговування, далеко від виробництва. Застосуйте гальма моста та візка.
Блокування/тегування (СЕРЦЕ): Це не підлягає обговоренню. Ізолюйте ВСІ джерела енергії від крана:
Основне електричне відключення (замок і тег).
Будь-які допоміжні джерела живлення.
Дотримуйтесь суворих процедур LOTO у вашому закладі. Перевірте нульову енергію.
Зберіть інструменти & Запчастини: Забезпечте правильну заміну гачок збірка на руках і перевірена. Тримайте всі інструменти в легкому доступі.
Підтримка вузла вантажного блоку/гака:
Це НАЙКРИТИЧНІШИЙ крок безпеки. Перед від’єднанням від підйомних канатів або ланцюга необхідно надійно підтримувати всю вагу вантажного блоку та гака..
Використовуйте сертифікований допоміжний підйомний пристрій (як ланцюговий підйомник або портальний кран) і відповідно оцінені стропи/ланцюги.
Надійно прикріпіть стропи до самого вантажного блоку, ні гак замінюється. Застосуйте легке натягнення, щоб зняти вагу з підйомних канатів/ланцюга. Ще раз перевірте безпеку такелажу.
Зніміть старий гак:
Від'єднайте Hook Link (Поворот): Знайдіть точку з’єднання між дугою гачка (шматочок) і гакова ланка або поворотний вузол, прикріплений до підйомних канатів/ланцюга. Зазвичай це закріплюється великою шпилькою, болт, або кайдани.
Зніміть кріплення: Обережно видаліть усі шплінти, контргайки, або стопорні кільця. Використовуйте відповідні інструменти, щоб уникнути округлення кріплення.
Викрутіть шпильку/болт: Використання відповідних перфораторів і молотків (при необхідності), обережно вибийте головний штифт або зніміть болт, що з’єднує гачок із ланкою гака/Повороті гачки крана. Пам’ятайте про накопичену напругу.
Опустіть Старий гачок: Після відключення, обережно опустіть старий гачок за допомогою допоміжного підйомного пристрою в безпечне місце на землі або робочій платформі. Ніколи не дозволяйте йому зависати без підтримки!
Оглянути & Підготуйте (Критичний!):
Перевірте ланку гака/вертлюг: Ретельно очистіть та перевірте гакову ланку або поворотний вузол, який залишається прикріпленим до підйомних тросів/ланцюга. Шукайте знос, тріщина (особливо в нитках або шпилькових отворах), деформація, або корозію. За допомогою штангенциркуля виміряйте знос у критичних точках за характеристиками виробника. Замініть, якщо виявлені дефекти.
Перевірте підйомний трос/ланцюг & Снопи: Поки є доступ, перевірити стан підйомного каната (за обірвані дроти, перегини, корозія) або ланцюг (для розтяжки, тріщина, знос), і шкиви/ланцюгові колеса на знос або пошкодження.
Чисті компоненти: Ретельно очистіть сполучні поверхні ланки гака/вертлюга та нового гака. Зніміть бруд, змастити, і задирки.
Встановіть новий гачок:
Розмістіть новий гачок: Використання допоміжного підйомного пристрою, обережно підніміть новий гачок на місце, точно вирівнюючи його дужку з гачком/вертлюгом.
Встановіть нове обладнання: Вставте новий штифт або болт, вказаний виробником. Ніколи не використовуйте повторно старе обладнання, якщо це явно не дозволено виробником. Встановіть нові шплінти, контргайки, або стопорні кільця за потреби.
Кріплення з крутним моментом: Якщо використовуються болти, затягніть їх відповідно до точних специфікацій виробника за допомогою каліброваного динамометричного ключа. Це має вирішальне значення для належної несучої здатності.
Ретельно захищайте: Переконайтеся, що всі запірні пристрої (правильно зігнуті шплінти, затягніть гайки, стопорні кільця повністю встановлені) встановлені належним чином.
Видаліть допоміжну підтримку & Тест:
Повільно знімайте напругу: Обережно послабте допоміжний підйомний пристрій, перенесення ваги вантажного блоку та нового гака назад на підйомні троси/ланцюг крана. Переконайтеся, що з’єднання стабільне.
Зняти такелаж: Після повної підтримки підйомним краном, зніміть допоміжні підйомні стропи та обладнання.
Виконайте функціональні тести (БЕЗ НАВАНТАЖЕННЯ): Виконання процедур видалення LOTO лише після того, як весь персонал буде звільнений, під суворим контролем подати напругу на кран. Виконайте кілька повних циклів підйому та опускання гака без навантаження, прислухаючись до незвичних шумів і спостерігаючи за безперебійною роботою.
Виконайте тест навантаження: Вирішальний крок! Перед поверненням крана в експлуатацію, він ПОВИНЕН пройти випробування на навантаження відповідно до рекомендацій виробника та відповідних стандартів (Напр., ASME B30.2). Зазвичай це включає підняття тестового вантажу (часто 125% номінальної потужності) контрольованим способом перевірити цілісність нової установки гака та кранової системи. Задокументуйте цей тест.

Видимі тріщини або подряпини.
Надмірне відкриття горла (понад межі зносу виробника – зазвичай >15% збільшення).
Закрутка гачка (скручування з площини розігнутого гачка).
Перевищення зносу 10% вихідного діаметра на сідло або опорні точки.
Будь-яка деформація (згинання) гачка.
Корозія або точкові утворення, що впливають на цілісність конструкції.
Невдала перевірка відповідно до вимог ASME B30.10.
Рекомендований виробником інтервал заміни.
Ніколи не працюйте під підвішеним вантажем.
ЛОТО обов'язкове.
Завжди підтримуйте вантажний блок під час зняття гака.
Використовуйте тільки правильні, номінальні запасні частини та обладнання.
Ретельно перевірте всі пов’язані компоненти.
Виконайте тестування навантаження після заміни.
Задокументуйте заміну та перевірку.
Заміна гака крана є життєво важливим завданням технічного обслуговування, яке вимагає прискіпливої уваги до протоколів безпеки, правильні процедури, та якісні запчастини. Хоча цей посібник містить структуру, завжди віддавайте перевагу конкретним інструкціям виробника та правилам безпеки компанії. Регулярні перевірки можуть запобігти раптовим поломкам, але коли потрібна заміна, Ретельне виконання цих кроків гарантує безперервну безпечну та надійну роботу вашого критично важливого підйомного обладнання. Якщо завдання здається поза компетенцією вашої команди, завжди залучайте кваліфікованих фахівців з обслуговування кранів. Не йдіть на компроміс із безпекою – від цього залежить навантаження.
Відмова від відповідальності: Заміна гака мостового крана пов’язана зі значними ризиками. Завжди дотримуйтеся спеціальних процедур безпеки вашої компанії, блокування/тегування (СЕРЦЕ) протоколи, та інструкції виробника крана. Цей посібник є інформаційним; лише навчений та авторизований персонал повинен виконувати це завдання. Коли є сумніви, зверніться до кваліфікованого фахівця з обслуговування крана.
Ми цінуємо ваш відгук! Будь ласка, заповніть форму нижче, щоб ми могли налаштувати наші послуги до ваших конкретних потреб.


Натисніть кнопку, щоб отримати інформацію та цитати продукту на WhatsApp.
Отримайте цитату

Останні коментарі