Меню навигации
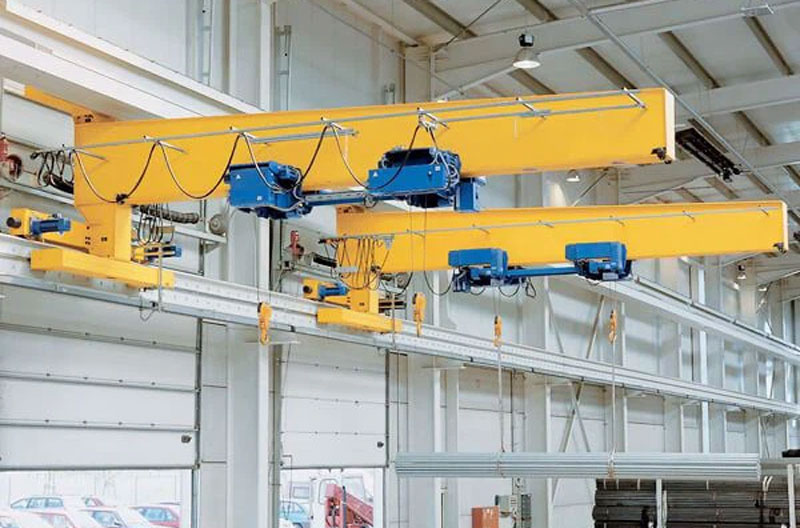
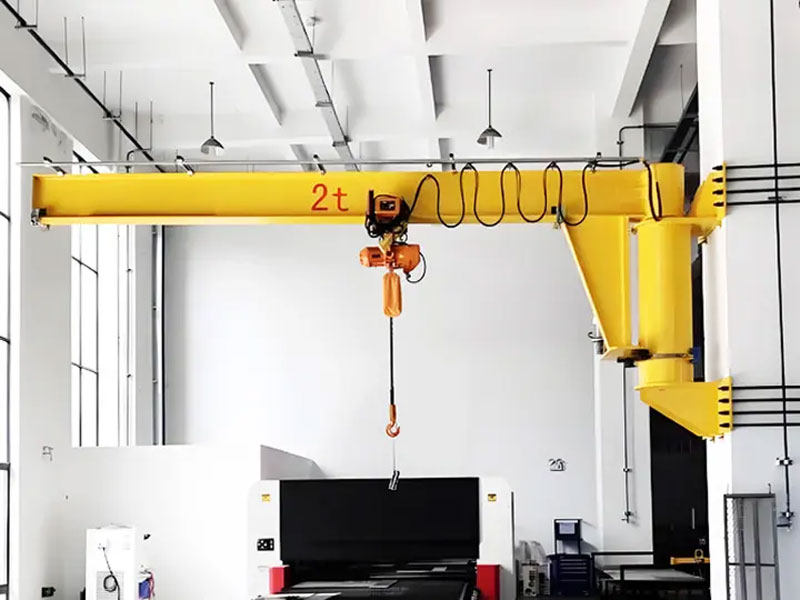
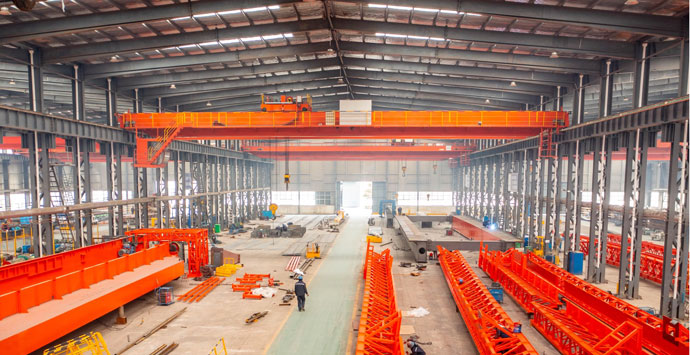
Стреловой кран – рабочая лошадка мастерских, погрузочные доки, и производственные линии. Его универсальность зависит от этой важной конечной точки.: крючок. Правильная установка – это не только функциональность; это фундаментальная основа безопасности. Плохо установленный крюк – это ожидающая катастрофа. В этом руководстве описаны основные этапы безопасной и правильной установки крюка стрелового крана..
1. Безопасность: Предотвращает катастрофический выход крюка из строя и падение груза..
2. Стабильность: Обеспечивает правильное и предсказуемое подвешивание груза.
3. Долговечность крана: Предотвращает чрезмерную нагрузку на конструкцию крана и подъемные компоненты..
4. Соответствие нормативным требованиям: Соответствует OSHA, Стандарты ASME B30, и требования производителя.
5. Операционная эффективность: Предотвращает простои из-за ремонта или аварий.
1. Прочтите руководства: См. руководство производителя стрелового крана и инструкции производителя крюка.. Они содержат конкретные требования и предупреждения..
2. Тщательно осмотрите узел крючка:
3. Осмотр подъемного механизма:
4. Соберите правильные инструменты & Ст:
1. Подготовьте рабочую зону:
2. Поддержка сборки крючка:
3. Правильно выровняйте крючок:
4. Задействовать защелку (Если оборудовано):
5. Защитите соединение:
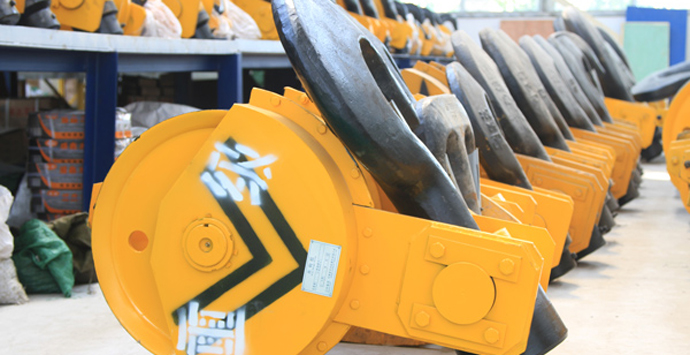
Крючки с хвостовиком (Резьбовой):
Крючки с головкой (Закреплено):
Вставьте штифт соответствующего класса и размера через скобу и скобу с крючком..
Закрепите штифт указанным способом. (НАПРИМЕР., шплинт, контргайка). Убедитесь, что штифт полностью установлен и фиксирующее устройство правильно зафиксировано..
6. Заключительная проверка:
Дважды проверьте ориентацию крючка (указывать наружу!).
Убедитесь, что седло установлено ровно и надежно..
Подтвердите предохранительную защелку (Если настоящий) работает правильно и полностью закрывается.
Убедитесь, что все крепежные устройства (орехи, булавки, чеки) правильно установлены и затянуты.
1. Выполните легкий тестовый подъем:
Удалить все инструменты, материалы, и личный состав из зоны под крюком.
Осторожно поднимите очень легкий, некритическая нагрузка (значительно ниже номинальной грузоподъемности крана).
Внимательно осмотрите узел крючка. Проверьте наличие необычного движения, шум, обязательность, или перекос. Убедитесь, что груз висит ровно и устойчиво..
2. Осмотрите еще раз: После светового теста, визуально еще раз осмотрите место крепления крюка, защелка, и крепежные устройства на предмет любых признаков ослабления или напряжения.
Установка крюка стрелового крана может показаться простой задачей., но последствия неправильного решения будут серьезными. Уделите время тщательному осмотру компонентов., выполните правильные шаги (особенно в отношении ориентации крючка и надежного крепления), и провести надлежащие проверочные испытания — это инвестиция в безопасность, производительность, и душевное спокойствие. Никогда не ставьте под угрозу целостность этой критической точки подъема.. Лифт умный, лифт сейф!
Мы ценим ваши отзывы! Пожалуйста, заполните форму ниже, чтобы мы могли адаптировать наши услуги к вашим конкретным потребностям.


Нажмите кнопку, чтобы получить информацию о продукте и цитаты на WhatsApp.
Получите цитату
Последние комментарии