Menú de navegación
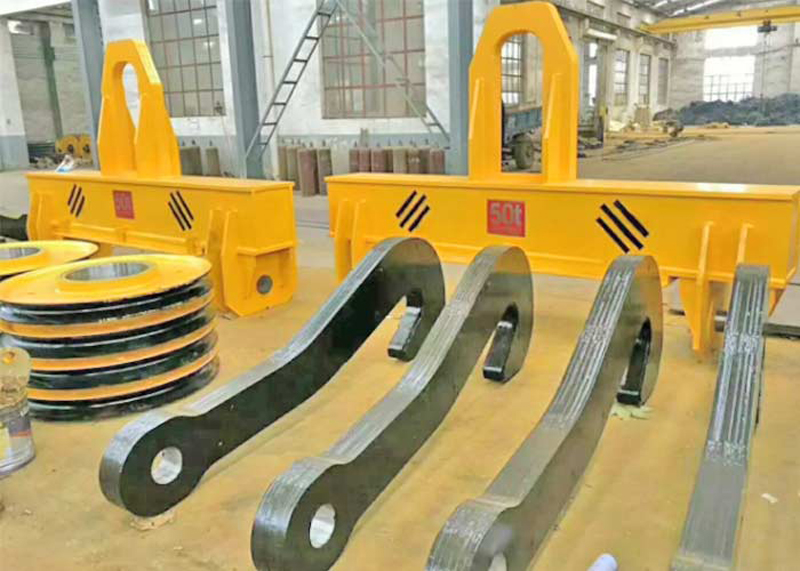
El gancho de la grúa. Es lo aparentemente simple, pero absolutamente crítico, Punto de conexión entre su grúa y su carga.. Un fallido gancho no solo significa tiempo de inactividad; puede provocar accidentes catastróficos, lesiones, muertes, y daños materiales importantes. La inspección periódica y exhaustiva de los ganchos de las grúas no es sólo una buena práctica: es un imperativo de seguridad no negociable.
Esta guía describe los pasos esenciales para una inspección adecuada del gancho de la grúa., que cubre tanto controles frecuentes previos al uso como inspecciones periódicas más detalladas. Siga siempre las instrucciones específicas del fabricante y las normas de seguridad pertinentes. (como OSHA, ASME B30.10, ISO 9927-1, o equivalentes locales) para tu equipo.
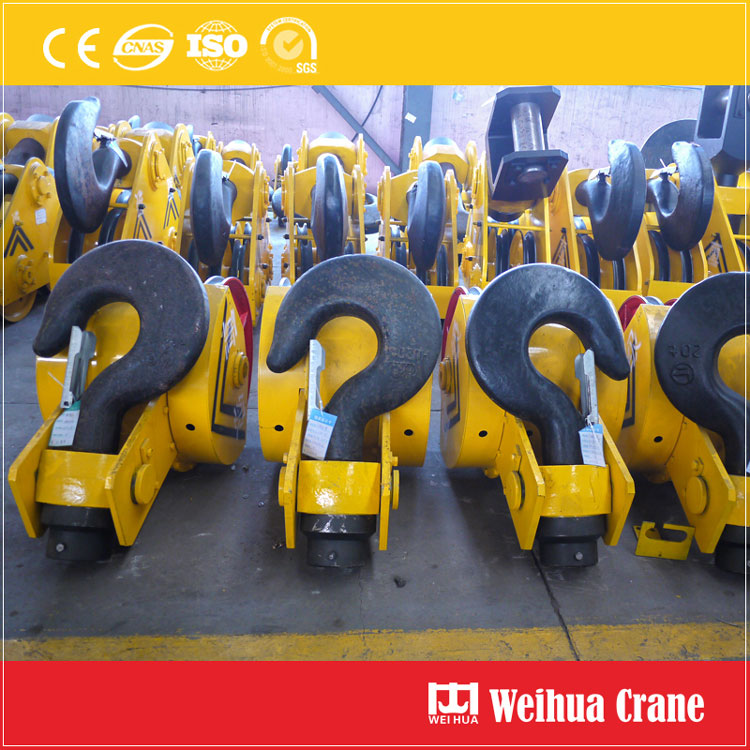
Previene el fracaso: Los ganchos están sujetos a una tensión inmensa, flexión, y usar. Se pueden desarrollar grietas por fatiga o deformaciones con el tiempo..
Identifica el desgaste & Daño: El uso normal provoca desgaste en el sillín., caña, y pestillo (Si está equipado). También pueden producirse daños por sobrecarga., impacto, o factores ambientales.
Garantiza la seguridad de la carga: Un gancho deformado o un pestillo que no funciona correctamente pueden hacer que la carga se deslice o se suelte inesperadamente..
Cumplimiento: La ley y las pólizas de seguro suelen exigir inspecciones documentadas periódicas..
Pre-uso / Inspección frecuente: Realizado diariamente o antes de cada turno por el operador o personal designado. Comprobación visual y funcional rápida.
Periódico / Inspección regular: Realizado mensualmente, trimestral, o anualmente (según lo definido por las regulaciones, fabricante, y gravedad del uso) por un inspector competente y calificado. Más detallado, puede implicar mediciones y limpieza.
Integral / Inspección mayor: Desmontaje y examen detallados., a menudo requieren personal especializado y END (Pruebas no destructivas), normalmente anualmente o según lo especificado.
Aislar la grúa: Bloqueo/Etiquetado (CORAZÓN) la fuente de energía de la grúa. Asegúrese de que no se pueda energizar.
Bajar el gancho: Coloque el bloque del gancho de forma segura al nivel del suelo o en un área de inspección designada..
Limpiar el gancho: Eliminar el exceso de suciedad, grasa, o acumulación de pintura que podría ocultar defectos. Un cepillo de alambre suele ser útil. Precaución: No retire los lubricantes protectores en las áreas de desgaste a menos que se especifique para inspección..
Reúna herramientas: Buena iluminación (flash!), espejo de inspección, lupa, calibres o calibres de gancho (para medir el desgaste/deformación), indicador de desgaste para el pestillo (Si corresponde), y formularios de documentación.
Grietas: El #1 defecto crítico. Examine TODO el anzuelo meticulosamente., prestando especial atención a las áreas de alto estrés:
Dentro de la “silla de montar” (Cuenco/Garganta): La superficie interior curva donde se asienta la carga.. Utilice un espejo para ver todas las áreas.. Busque CUALQUIER grieta fina, especialmente irradiando desde la superficie interior.
Caña (Área debajo de la silla de montar): Inspeccione ambos lados y la parte superior donde se encuentra con el pivote o la tuerca..
Punta de gancho (Punto):
Base del gancho (Donde el vástago se encuentra con el ojo/cuña/tuerca): Una ubicación privilegiada para las grietas por fatiga.
Tener puesto:
Sillín (Abertura de garganta): Mida la profundidad del desgaste. Comparar con la dimensión original (a menudo estampado en el gancho o en los manuales). Crítico: Desgaste excesivo 10% (o límite del fabricante, a menudo 5-15%) del diámetro original de la abertura de la garganta generalmente exige el reemplazo. Utilice calibres de gancho o calibradores.
Punta de gancho: El desgaste excesivo puede reducir la resistencia y afectar la función del pestillo..
Deformación (Doblar, Retortijón):
Girar: Mire hacia abajo por el vástago hacia la punta.. La punta debe estar centrada dentro del vástago.. Cualquier giro notable es inaceptable..
Curvatura/Apertura: Compare la apertura real del gancho (distancia entre la punta y el mango) a la especificación original. Apertura creciente más allá 15% (o límite del fabricante, a menudo 5-15%) es peligroso. Utilice calibres o calibradores.
Vástago recto: El mango debe quedar recto., no doblado ni arqueado.
Corrosión & picaduras: La corrosión severa o las picaduras profundas debilitan significativamente el anzuelo.. Se puede limpiar y controlar el óxido superficial ligero, pero las picaduras significativas requieren evaluación por parte de una persona calificada.. Cuidado con la corrosión debajo de la pintura..
gubias, mellas, & Surcos: El daño superficial profundo actúa como un concentrador de estrés., potencialmente provocando grietas. Evaluar la profundidad y la ubicación..
Condición de la pintura: Peladura, descamación, o pintura ampollada podría indicar corrosión subyacente. También puede ocultar grietas.. Las áreas que necesitan ser repintadas deben limpiarse e inspeccionarse primero..
3. Inspección funcional (Para ganchos con pestillos):
Presencia de pestillo & Tipo: Asegúrese del tipo correcto de pestillo (cargado de resorte, gravedad, etc.) está presente e intacto según lo diseñado.
Operación del pestillo:
Pestillos de resorte: Debe moverse libremente y volver a encajar positivamente en la posición cerrada sobre la punta del gancho cuando se suelta.. Comprobar la tensión del resorte.
Pestillos de gravedad: Debe oscilar libremente y cubrir la punta de manera confiable bajo la gravedad..
Desgaste del pestillo: Inspeccione la superficie de contacto del pestillo con la punta del gancho para detectar desgaste excesivo o deformación.. Mida el desgaste según las especificaciones si es posible..
Seguridad del pestillo: El pestillo debe evitar eficazmente que las eslingas o los herrajes se deslicen accidentalmente de la punta cuando está cerrado.. Verifique que no se pueda abrir fácilmente bajo una ligera presión..
4. Adjuntos & Guarniciones:
Tuerca/collar de gancho: Compruebe si hay tensión (sin rotación), grietas, deformación, y corrosión. Asegúrese de que esté correctamente asentado.
Mecanismo giratorio (Si corresponde): Verifique que la rotación sea suave y sin ataduras., juego excesivo, o daño visible. Escuche los chirridos al girar manualmente.
Pasadores/retenedores de seguridad: Asegúrese de que estén presentes y seguros.
Poleas de bloque de gancho: Inspeccionar por desgaste, grietas, y rotación suave (aunque esto es parte de la inspección del bloque, a menudo se hace al mismo tiempo).
5. Documentación:
Hallazgos registrados: Documente cada inspección (fecha, inspector, identificación de la grúa, ID de gancho), tomando nota de cualquier defecto encontrado, medidas tomadas, y acciones tomadas (P.EJ., "Aprobado,” “Monitorear el desgaste en la ubicación X,“Retirado del servicio”).
Etiquetado: Si un gancho no pasa la inspección, DEBE ser retirado inmediatamente del servicio.. Etiquete claramente "NO USAR" o "DEFECTUOSO" y siga los procedimientos de reparación/reemplazo por parte de personal calificado.. Nunca suelde ni intente enderezar un gancho dañado.! El reemplazo es la única opción segura para defectos críticos.
Para la punta: Cuando tenga dudas sobre la gravedad de un defecto, RETIRE EL GANCHO DE SERVICIO y consulte a un ingeniero o inspector de grúas calificado.. Nunca apuestes por la integridad del gancho.


Inspeccionar el gancho de una grúa es una responsabilidad fundamental para cualquier persona involucrada en las operaciones de la grúa.. Incorporando controles exhaustivos previos al uso y siguiendo diligentemente las inspecciones periódicas programadas utilizando esta lista de verificación., Identifica proactivamente los peligros potenciales antes de que conduzcan a un desastre.. Recordar, Dedicar unos minutos a examinar cuidadosamente ese anzuelo podría salvar vidas., prevenir lesiones, y evitar costosos accidentes. Haga de la inspección de ganchos una parte no negociable de su rutina diaria de seguridad.
Valoramos sus comentarios! Complete el formulario a continuación para que podamos adaptar nuestros servicios a sus necesidades específicas..


Haga clic en el botón para obtener información del producto y cotizaciones en WhatsApp.
Obtener una cotización

Últimos comentarios